Converting a TP-Link Festa F52-Outdoor into an Omada EAP225-Outdoor
Dieser Artikel ist auch auf Deutsch verfügbar.
While looking for a cheap outdoor access point, I stumbled across the TP-Link Festa F52-Outdoor on Amazon for less than 30 euros.
Whenever I buy routers and similar devices, I check whether they might also be supported by OpenWrt. There is no official support yet, but there is a promising open pull request that starts with these words:
The TP-Link Festa F52-Outdoor v1 consists of the same hardware as the TP-Link EAP225-Outdoor v3. Only the device identifiers differ.
At €80, the Omada EAP225-Outdoor v3 costs almost three times as much as the Festa F52-Outdoor. So I wondered whether the identifiers and software really are the only differences, and whether one device can be upgraded into the other.
Inside the device
The devices are surprisingly easy to open for servicing. After unscrewing the antennas and pulling off the rubber seal, a gold-colored retaining ring needs to be unscrewed. Just put a narrow screwdriver into the gap and turn it with a little pressure.
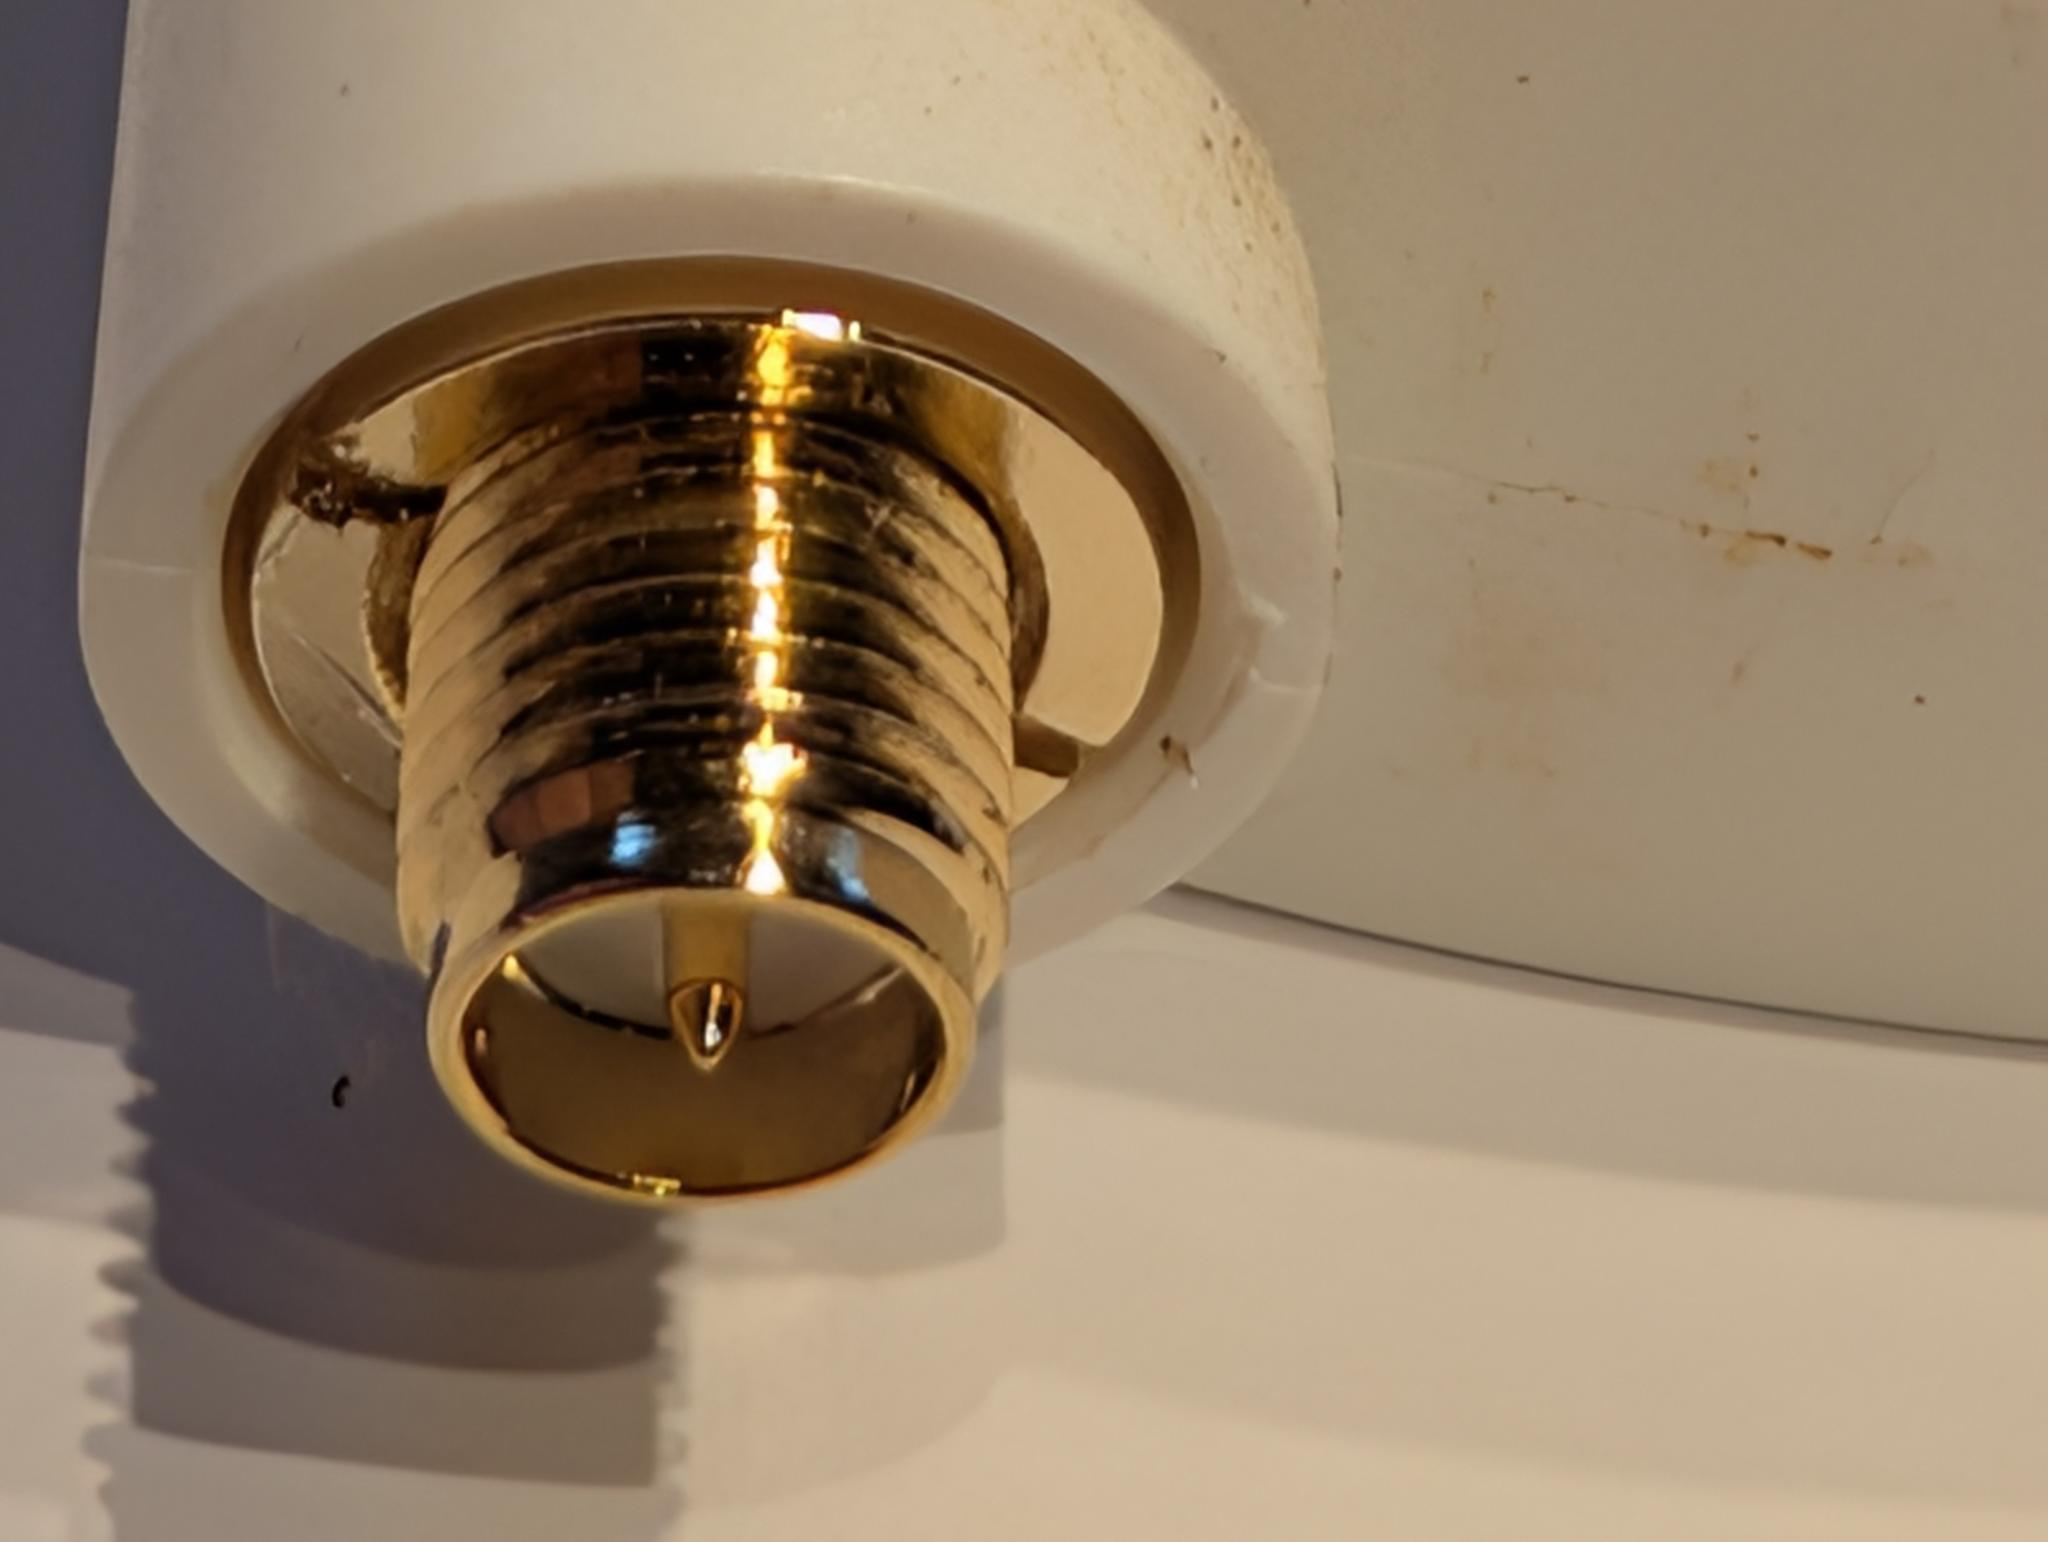
Once the rings are removed, the antennas can be carefully pushed in. The case can now be slid open. Inside is a slim board that really is identical in both model ranges.
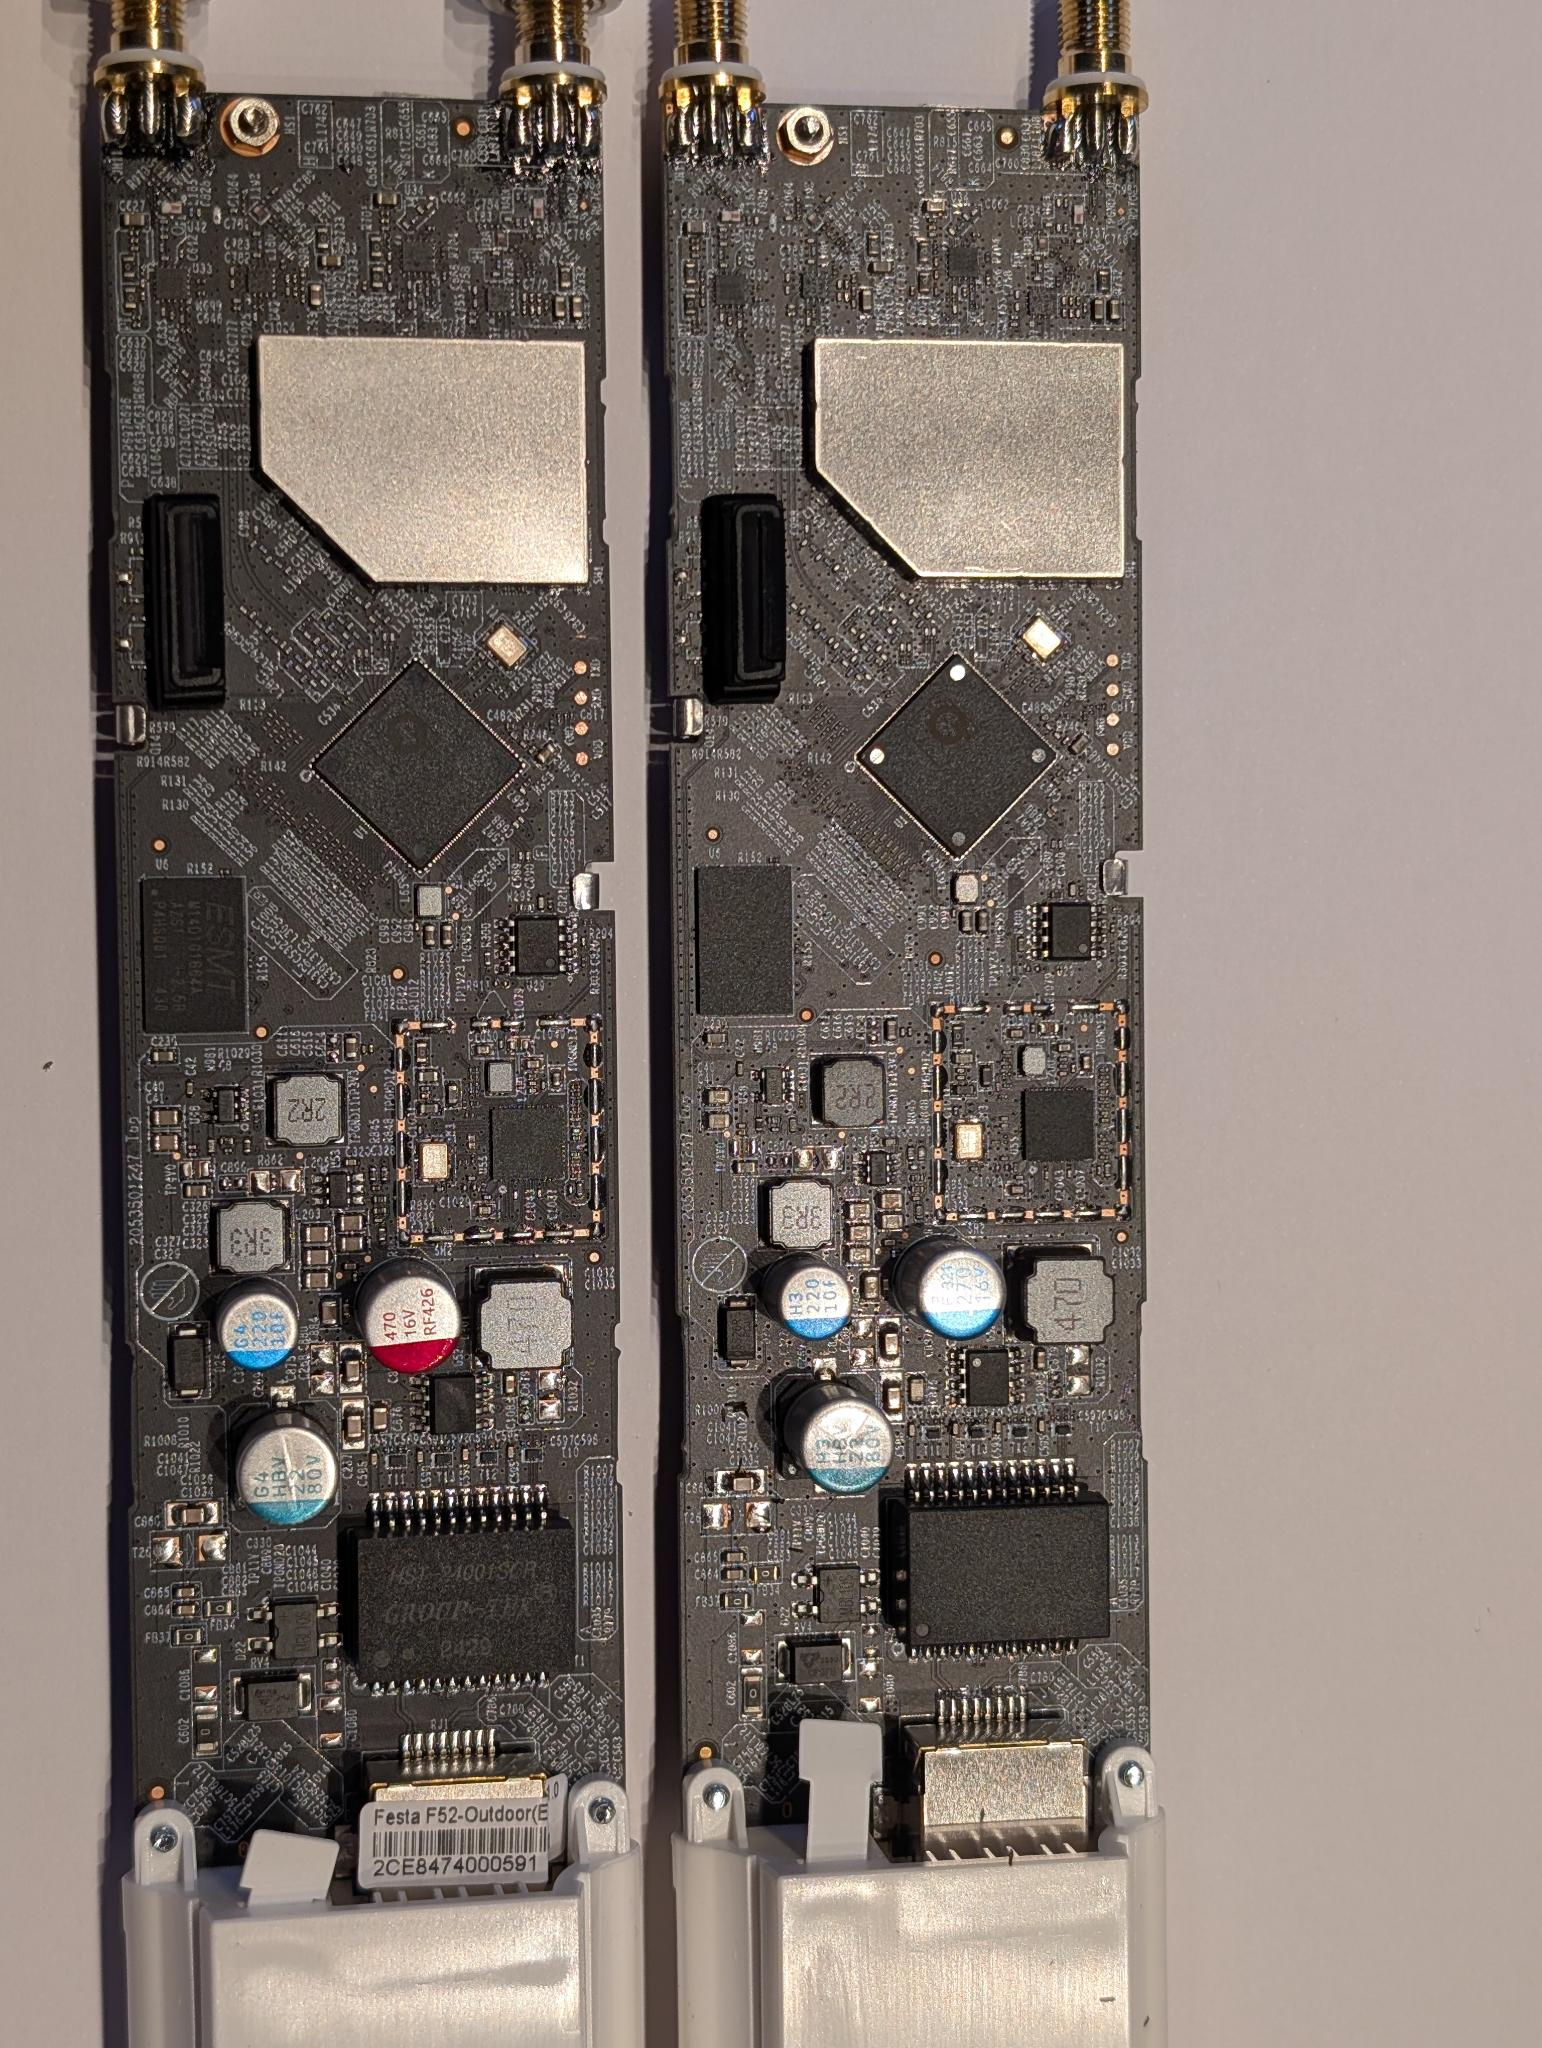
On the right-hand side there are contact pads helpfully labeled GND, RX, TX and VCC. There is the serial interface.
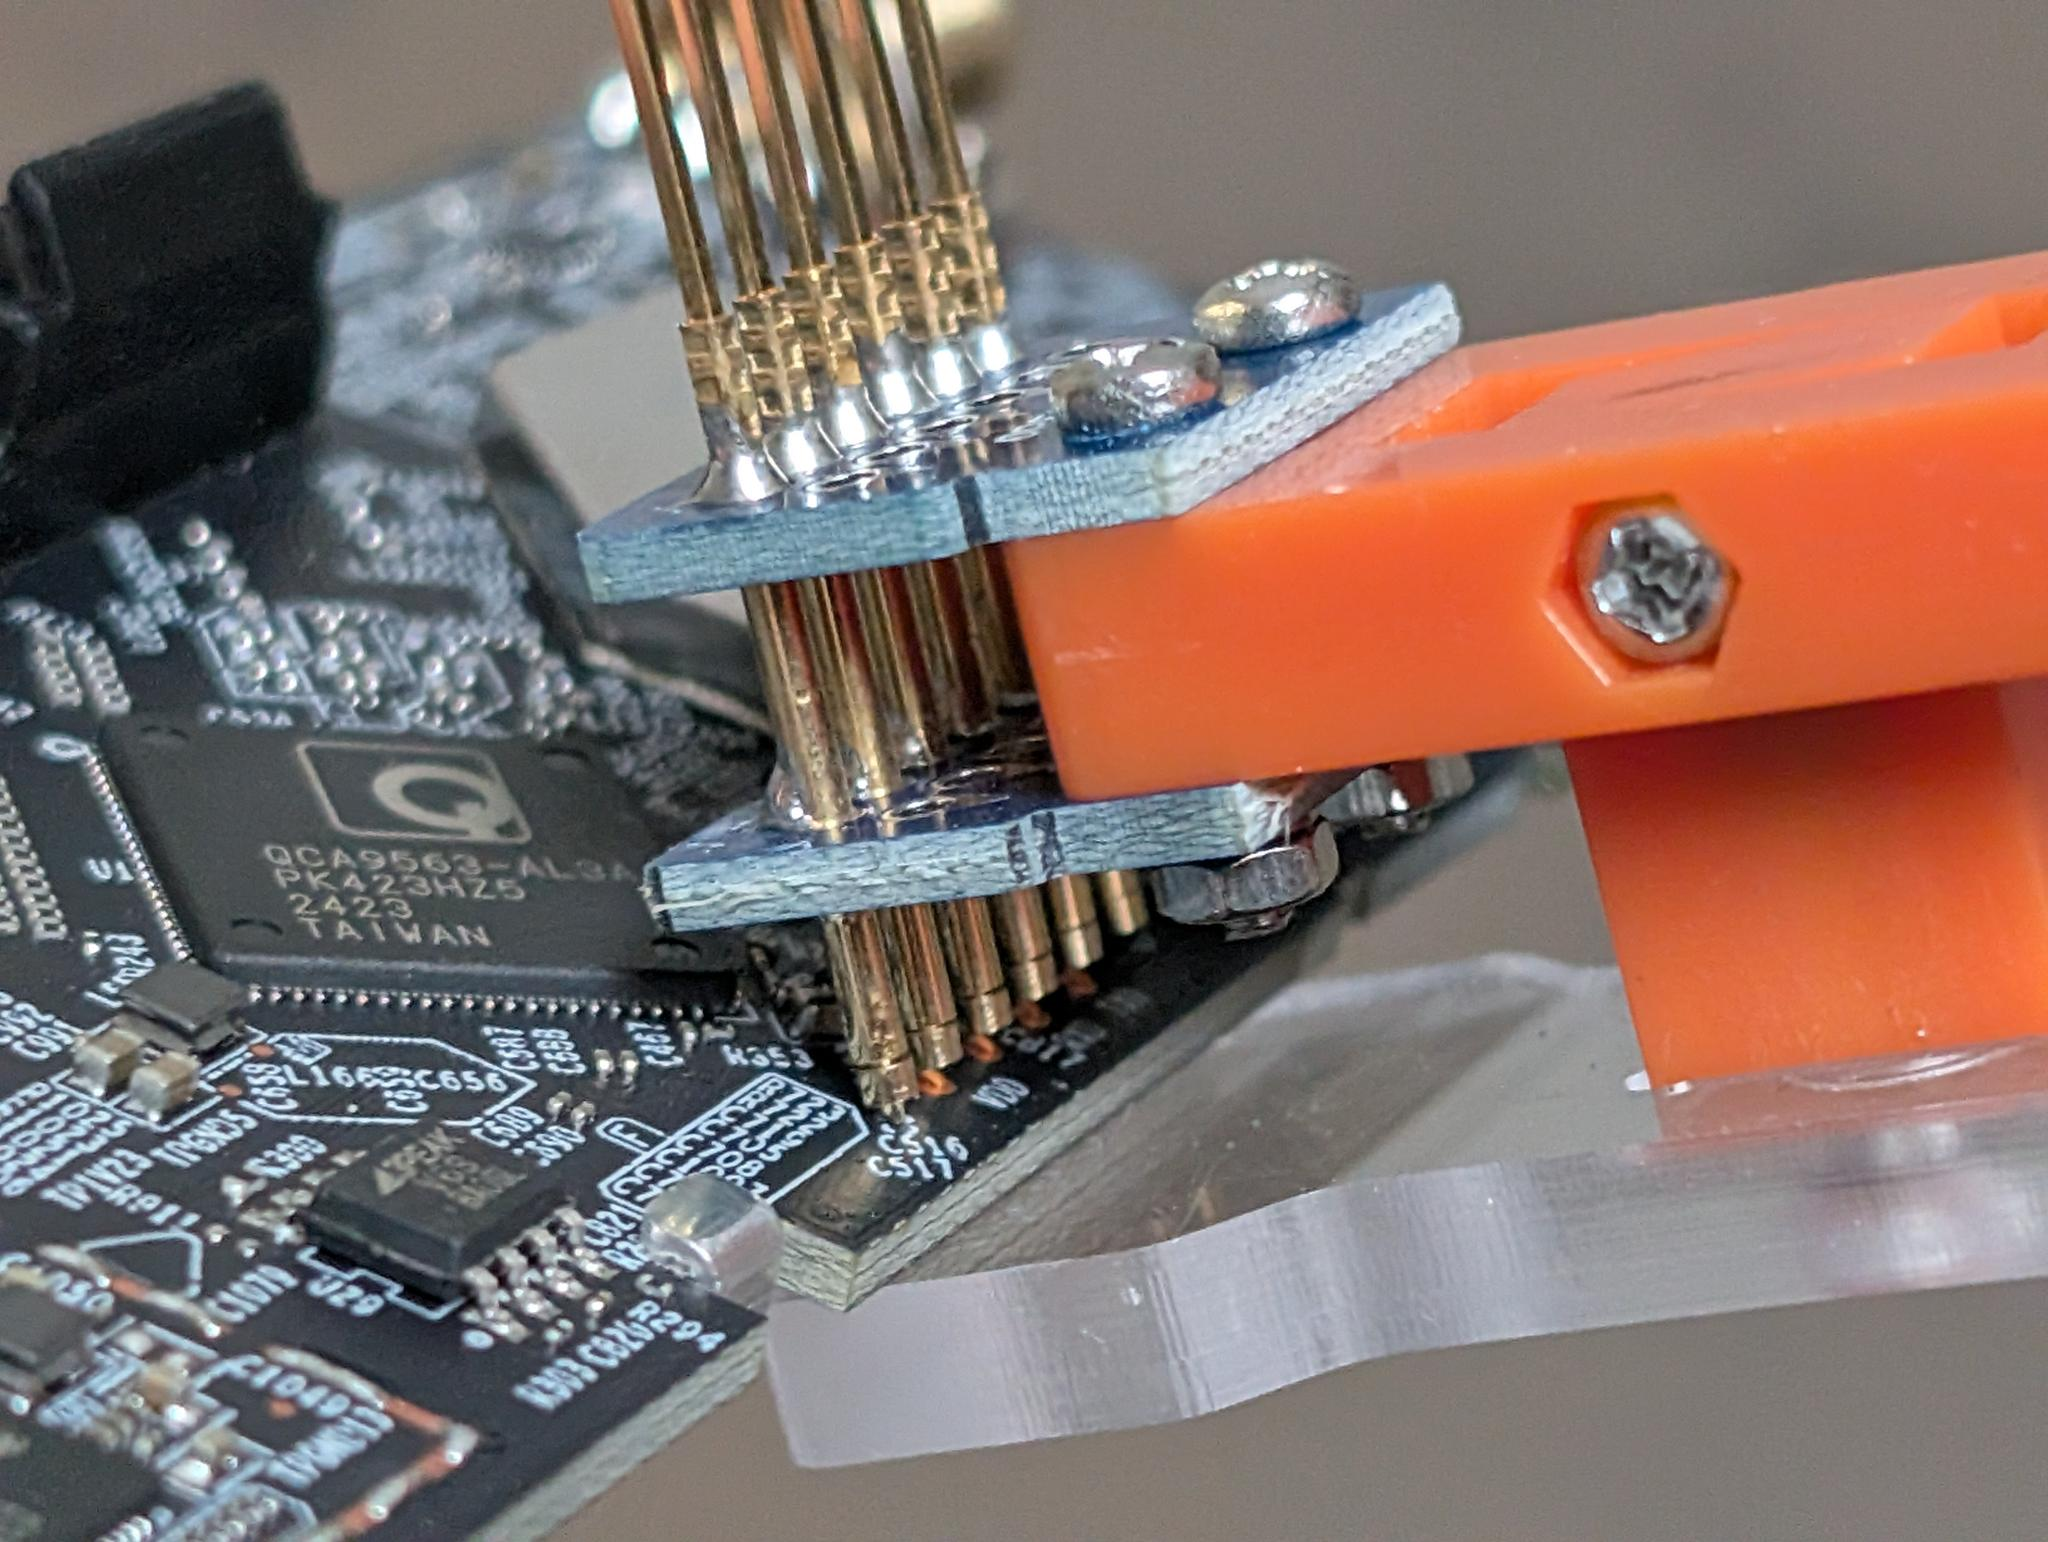
Only GND, RX and TX are connected to a 3.3V USB-to-serial adapter. After powering on, a boot log appears, but after a few lines it gets stuck at Stack Pointer at: 87f83f98. Without the serial interface connected, it boots without any problems.
After a bit of tinkering, I found the solution: a 680Ω resistor between TX on the board and RX on my USB-to-serial adapter. This makes the pull on TX less strong, and the board boots.
Software
Figuring out the baud rate was tricky too. An AI analysis of the data stream came up with 120192 baud, which actually works. I get my first bootloader log:
U-Boot 1.1.4--LSDK-10.2-00082-4-gc89d0445-dirty (Mar 27 2024 - 20:14:46)

board956x - Dragonfly 1.0DRAM:
sri
ath_ddr_initial_config(287): (ddr2 init)
ath_ddr_initial_config: DDR_EMR2_ADDRESS=0x180000bc, EMR2 value=0x80
ath_sys_frequency: ref_clk 25000000
ath_sys_frequency: cpu 775 ddr 650 ahb 258
Tap values = (0x10, 0x10, 0x10, 0x10)
128 MB
Top of RAM usable for U-Boot at: 88000000
Reserving 165k for U-Boot at: 87fd4000
Reserving 192k for malloc() at: 87fa4000
Reserving 44 Bytes for Board Info at: 87fa3fd4
Reserving 36 Bytes for Global Data at: 87fa3fb0
Reserving 128k for boot params() at: 87f83fb0
Stack Pointer at: 87f83f98
Now running in RAM - U-Boot at: 87fd4000
Flash Manuf Id 0x1c, DeviceId0 0x70, DeviceId1 0x18
flash size 16MB, sector count = 256
Flash: 16 MB
*** Warning - bad CRC, using default environment

In:    serial
Out:   serial
Err:   serial
Setting 0x181162c0 to 0x28502100
Hit Ctrl+B to stop autoboot:  2  1  0
Loading .text @ 0x80351d10 (12496 bytes)
Loading .rodata.str1.4 @ 0x80354de0 (676 bytes)
Loading .data @ 0x80355090 (1432090 bytes)
Clearing .bss @ 0x804b2ab0 (4202512 bytes)
## Starting application at 0x80351d10 ...
BOOT CONFIG:     80208482
zimage at:     80355090 804B2AAA
Uncompressing Linux at load address 80060000
Now, booting the kernel...
[    0.000000] Linux version 3.3.8 (jenkins@sohoiapbuild) (gcc version 4.3.3 (GCC) ) #1 Fri Mar 29 14:34:42 CST 2024
[...]
After a while, the kernel switches to the standard 115200 baud, and the console starts showing garbage again. But with two captures at different baud rates, I can put together a complete boot log.
The most important finding is Hit Ctrl+B to stop autoboot: 2 1 0 . Unfortunately, those are not seconds, but more like a 100ms timer. Persistently hammering Ctrl+B gets me into the bootloader though.
I compile a RAM version of the OpenWrt firmware from the linked pull request. This can be loaded and booted via TFTP:
tftpboot 0x80800000 f52-openwrt-initramfs-RAM-ONLY.bin
bootelf 0x80800000
From the running OpenWrt system, I can back up all partitions. This allows me to analyze them and also to test without risk. As long as I do not overwrite the bootloader, I can return to the current state at any time.
I create backups of both devices so that I can compare them.
Partition table
| MTD | Name | Start | End | Size |
|---|---|---|---|---|
| 0 | u-boot | 0x000000 | 0x020000 | 128 KiB |
| 1 | pation-table | 0x020000 | 0x030000 | 64 KiB |
| 2 | product-info | 0x030000 | 0x040000 | 64 KiB |
| 3 | kernel | 0x040000 | 0x1c0000 | 1,500 KiB |
| 4 | rootfs | 0x1c0000 | 0xf00000 | 13,568 KiB |
| 5 | config | 0xf00000 | 0xf30000 | 192 KiB |
| 6 | mutil-log | 0xf30000 | 0xfb0000 | 512 KiB |
| 7 | oops | 0xfb0000 | 0xff0000 | 256 KiB |
| 8 | ART | 0xff0000 | 0x1000000 | 64 KiB |
Analysis
I used AI to compare the data. After a few minutes, the differences between the images were clear. First, the Festa has a newer bootloader (not surprising, since my EAP is already a few years old). Then there is a difference in “product-info”: this contains the device type, but also data specific to each device, such as the MAC address and key material.
The kernel and rootfs obviously differ in the installed software. Config and the other partitions differ too, but I leave those for later. If necessary, a factory reset should bring them into line.
Product-info has a fairly simple structure:
| Position within the partition | Contents |
|---|---|
| +0x0000 | MAC address and individual factory data |
| +0x1000 | SupportList: which device identifier a firmware supports |
| +0x1100 | The actual product record |
| +0x2000 | Installed firmware version and additional version metadata |
The actual product record starts at +0x1100 and has room for 1,024 bytes. It consists of:
- 4 bytes: length of the following data
- 4 bytes: reserved
- then: product data as text
- remainder: padding bytes
The length is stored as a big-endian number in the header, with the most significant byte first. It refers to the contents after the 8-byte header, not to the entire block. The text therefore starts at +0x1108, or 0x031108 as an absolute address.
Festa F52-Outdoor v1, firmware 1.0.0
Festa F52-Outdoor(TP-Link|UN|AC1200-D):1.0
key=Bg********==
rsaKey=Bg********==
HWID=B2921ED2B6B2CBA95A06E53B79B2C463
Omada EAP225-Outdoor v3, firmware 5.2.3
EAP225-Outdoor(TP-Link|UN|AC1200-D):3.0
key=Bg********==
rsaKey=Bg********==
HWID=96455746BD4C5113D5E35DAF2CC3CA9B
The keys are probably device-specific. I left them untouched. The first line is the device type identifier. This matters for the firmware to work. The Festa firmware does not run with the Omada identifier, and the Omada firmware does not run with the Festa identifier.
The HWID seems irrelevant at first, but later tests showed that the device does not get automatic updates through Omada with the wrong HWID. Manual updates are possible, but it is better to set the correct device ID right away.
Upgrade
To flash an image intended for a different device onto an Omada or Festa access point, two conditions need to be met.
- The device type in the image (“SupportList”) must match the identifier of the running system
- The access point’s signature check must be disabled
I took a conservative approach when choosing the image and picked 5.1.11. The current versions at the time are 5.2.2 and 5.2.3. The lower version gives me a chance to test whether updates work afterward.
Modifying the image was another job for AI. I pointed it to the OpenWrt project tplink-safeloader. The AI quickly wrote a bit of Python that replaces the “SupportList” in the image with Festa F52-Outdoor(TP-Link|UN|AC1200-D):1.0, but leaves everything else unchanged.
To disable the access point’s signature check, SSH is enabled in the web interface. I can now log in via SSH and enter cliclientd stopcs. This disables the signature check until the next reboot.
Now the image can be installed through the web interface. Omada boots, but cannot find a configuration matching its device type. The result is a “half-working” system without networking.
To get the system running, the product-info partition still needs to be adjusted. I boot OpenWrt via TFTP once more and make a new copy of the partition, since the Omada upgrade has already modified it and recorded the newly installed firmware. The AI took care of adjusting the product block for me. Writing it is done from the bootloader again:
tftpboot 0x84000000 product-info-modified.bin
erase 0x9f030000 +0x10000
cp.b 0x84000000 0x9f030000 0x10000
After flashing the modified product-info, the device boots completely and can be adopted by the Omada controller.
Test
Adoption in the Omada controller works as usual. The device identifies itself as “EAP225-Outdoor(EU) v3.0” and can be managed without any noticeable difference from the existing devices.
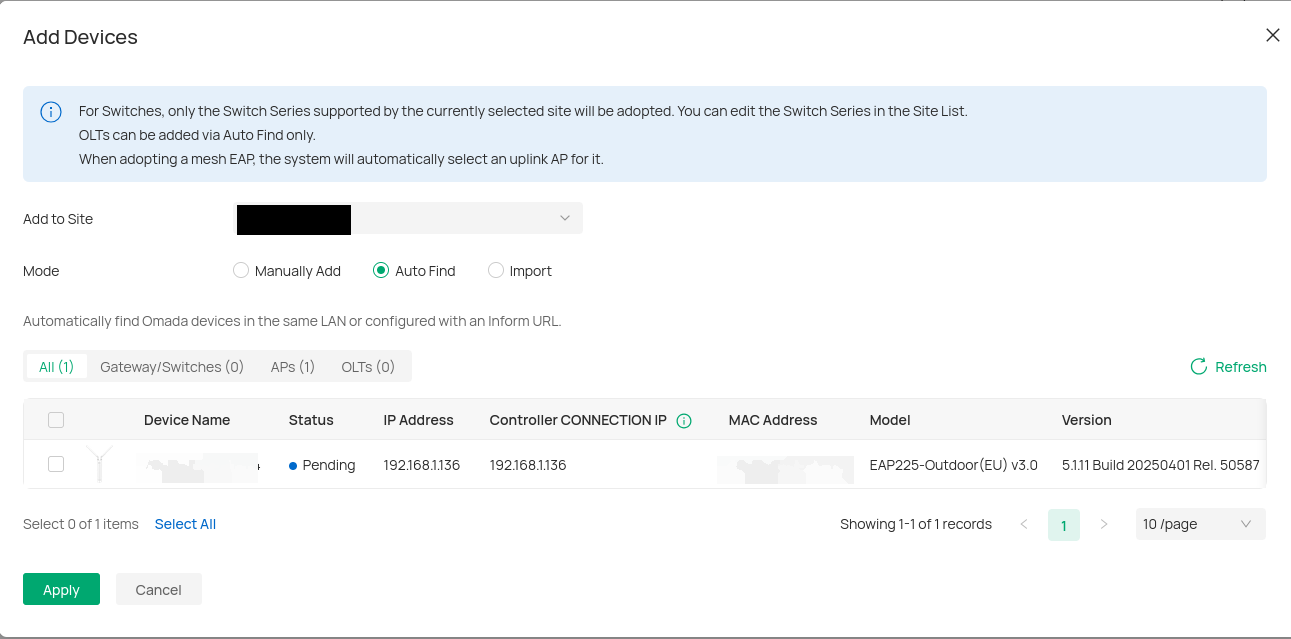
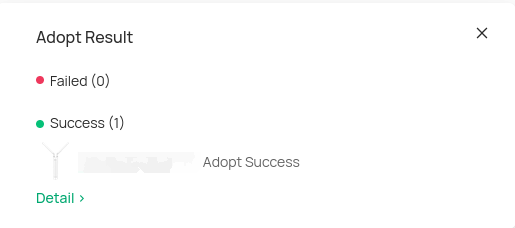
A quick test of all relevant functions showed no errors or problems. I upgraded to 5.2.2 manually because I had not changed the HWID at first, and the old ID was still cached even after removing and re-adopting the device. The upgrade to 5.2.3 then happened automatically with the correct HWID.
Downgrade
Finally, I also checked the way back to a Festa device. To do this, I flashed partitions 1–7 from the backup via TFTP from the bootloader. Afterward, the device booted as a normal Festa F52 again.